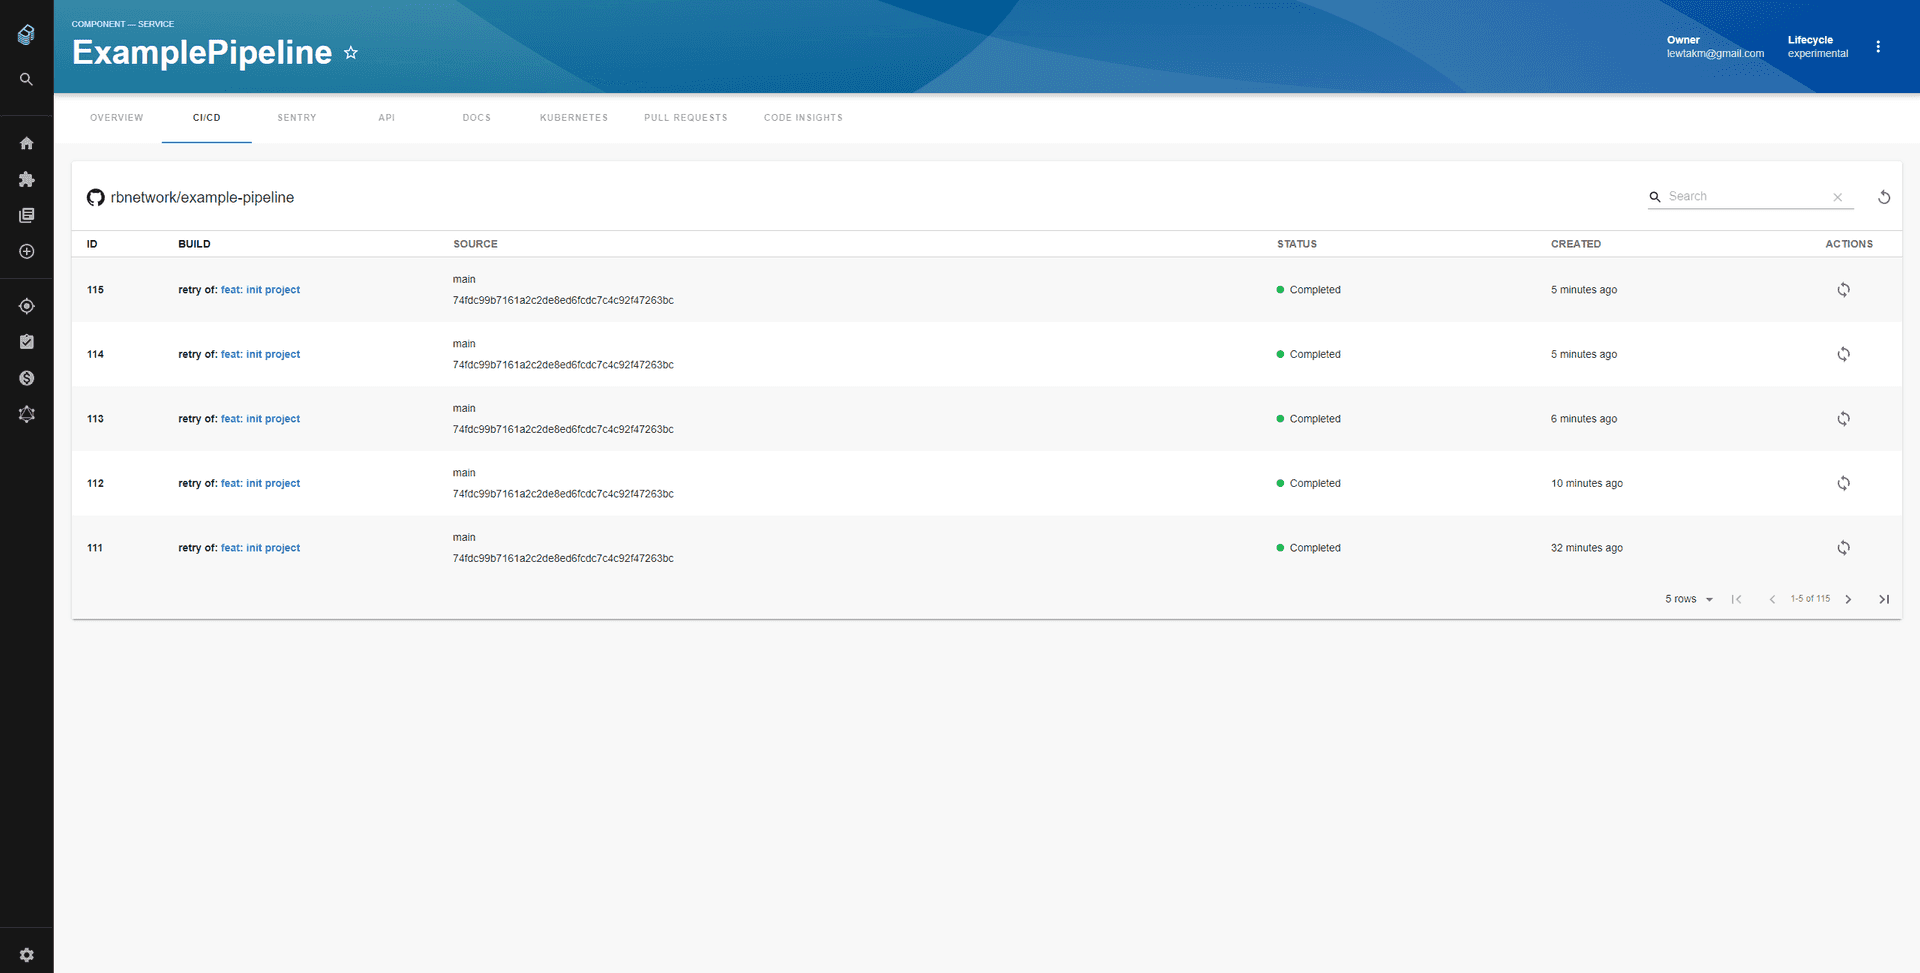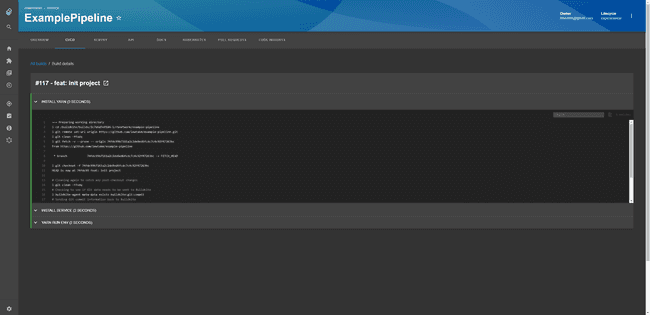
See the Buildkite Backstage plugin in action
Installation steps
Install the plugin
yarn add @roadiehq/backstage-plugin-buildkiteAdd proxy configurations
# app-config.yaml
proxy:
  '/buildkite/api':
    target: https://api.buildkite.com/v2/
    headers:
      Authorization: Bearer ${BUILDKITE_TOKEN}
Import it into your Backstage application
// packages/app/src/components/catalog/EntityPage.tsx
import {
  EntityBuildkiteContent,
  isBuildkiteAvailable,
} from '@roadiehq/backstage-plugin-buildkite';
Add plugin API to your Backstage instance
// packages/app/src/components/catalog/EntityPage.tsx

export const cicdContent = (
  <EntitySwitch>
    <EntitySwitch.Case if={isBuildkiteAvailable}>
      <EntityBuildkiteContent />
    </EntitySwitch.Case>
    ...
  </EntitySwitch>
);
Add annotation to your component-info.yaml file
metadata:
  annotations:
    buildkite.com/project-slug: <buildkiteorganization/buildkitepipeline>
Get and provide BUILDKITE_TOKEN as env variable.
Found a mistake? Update these instructions.
Things to know
Prefer a no-code Backstage setup?
Become a Backstage expert
To get the latest news, deep dives into Backstage features, and a roundup of recent open-source action, sign up for Roadie's Backstage Weekly. See recent editions.

