Skip the manual plugin installation with no-code Backstage
Installation steps
Before you start please make sure that you installed @roadiehq/backstage-plugin-aws-auth plugin first.
Install the plugin into Backstage.
yarn add @roadiehq/backstage-plugin-aws-lambdaAdd Card to your Backstage catalog pages.
// packages/app/src/components/catalog/EntityPage.tsx
import {
  EntityAWSLambdaOverviewCard,
  isAWSLambdaAvailable,
} from '@roadiehq/backstage-plugin-aws-lambda';
// ...
const OverviewContent = ({ entity }: { entity: Entity }) => (
  <Grid container spacing={3} alignItems="stretch">
    <EntitySwitch>
      <EntitySwitch.Case if={isAWSLambdaAvailable}>
        <Grid item md={6}>
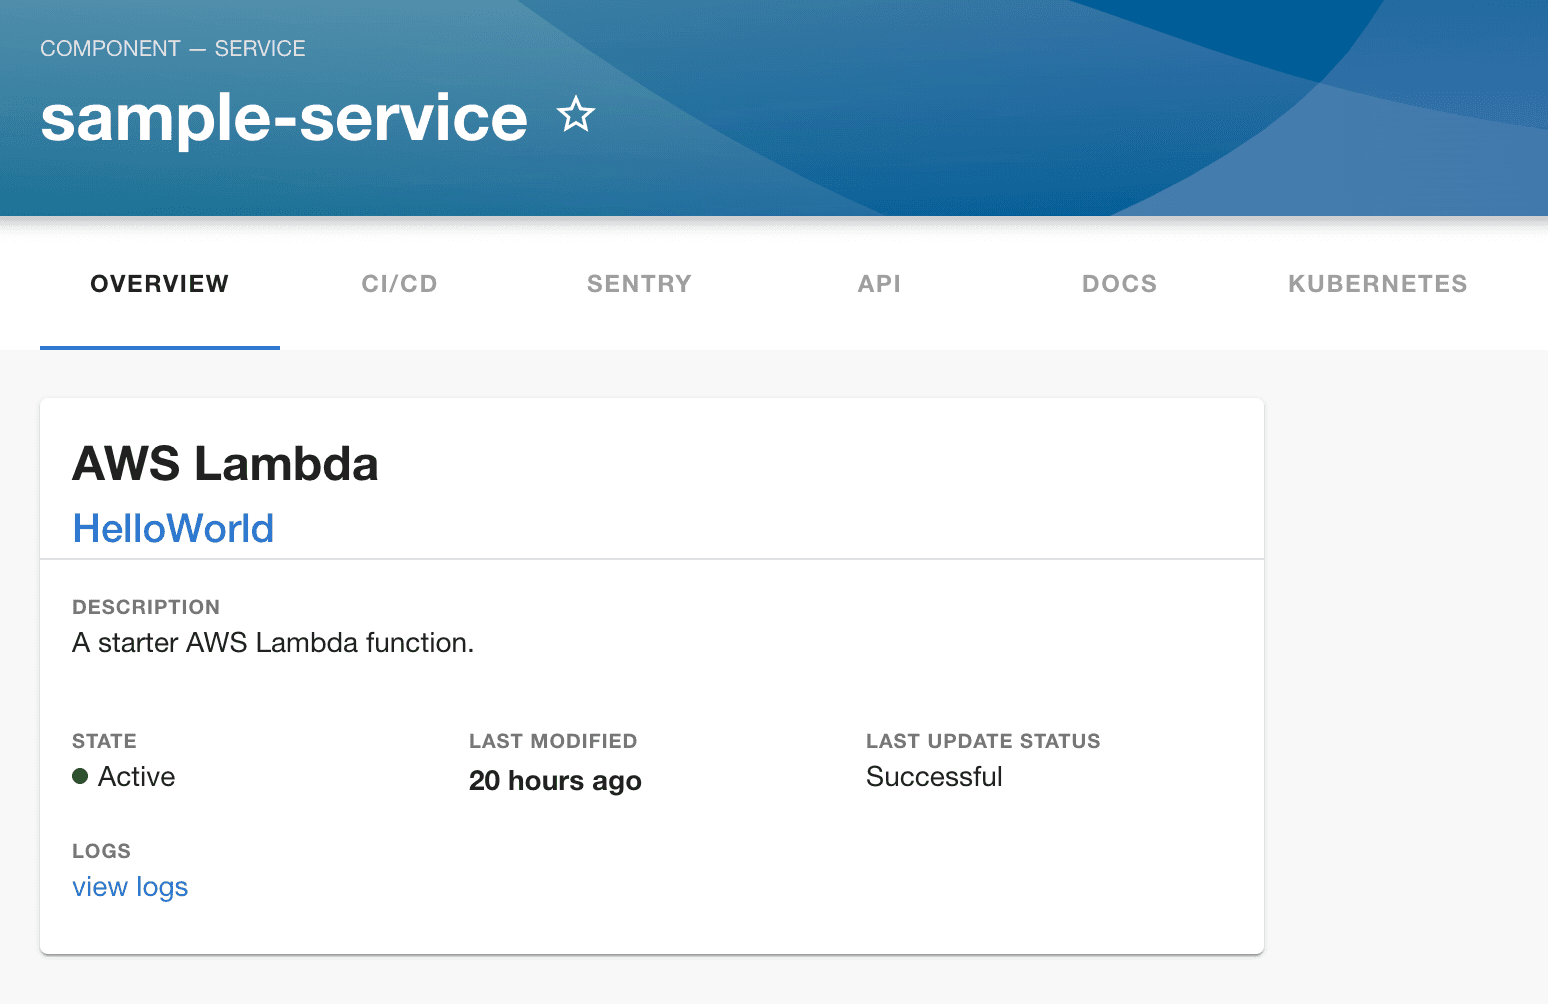
          <EntityAWSLambdaOverviewCard />
        </Grid>
      </EntitySwitch.Case>
      {/*...*/}
    </EntitySwitch>
    {/*...*/}
  </Grid>
);
Found a mistake? Update these instructions.
Things to know
Authentication
In order to perform requests to AWS lambda plugin you must install @roadiehq/backstage-plugin-aws-auth backend plugin.
Then ask backend for temporary credentials via /api/aws/credentials.
You can select what functions will be shown in the table using your yaml config file:
metadata:
  annotations:
    aws.com/lambda-function-name: HelloWorld
    aws.com/lambda-region: us-east-1
Prefer a no-code Backstage setup?
Become a Backstage expert
To get the latest news, deep dives into Backstage features, and a roundup of recent open-source action, sign up for Roadie's Backstage Weekly. See recent editions.
